Invisible Accent Light with BlinkM MaxM & FreeM
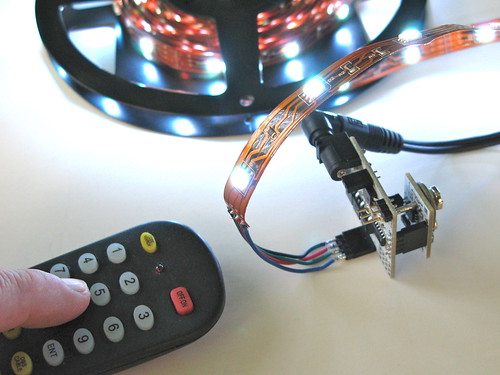
/Sometimes you just want a little extra light in a room. With RGB LED tape, you can put light anywhere. But controlling its brightness and making it the color you want is a bit harder. A BlinkM MaxM can easily control LED tape, either as a stand-alone device, with an Arduino, or your computer via a LinkM. Stand-alone mode is great if you want a specific color or color pattern (the BlinkMSequencer makes this really easy) For this installation, I added a FreeM to the MaxM to let you control the light with a standard infrared TV remote control.

Another nice thing about the LED tape is that when it’s off, you can’t see where it’s installed.
Here’s a video showing how it all works.
How to make this
First up is to wire up the RGB LED tape with extension wires to go from the tape to the MaxM. This is so you can hide the MaxM where ever you feel like. Cut the wires to the length you need and solder them to the LED tape and a 4-pin male header like in the photo below. Note because the LED tape switches the Red and Green lines you’ll need to switch them because MaxM’s lines go V+,R,G,B.
With that done, you should be able to hook everything up and have the MaxM drive the LED tape. The LED tape takes +12VDC. The amount of current it needs depends on the length of tape your driving. Chances are you have a 12VDC @ 1000 mA wall wart power supply from an old piece of computer gear. That should work fine.
If you want your accent light to play a constant color or color pattern, you’re now done and can place the LED tape where ever you like, like on top of a window sill. Peel off the sticker backing and stick the LED tape where it should go.

Adding FreeM
If you want to go the step further and add a FreeM to give your light a remote control, then follow the steps on the Using FreeM with BlinkM MaxM page.
But it’s really not much more than plugging the FreeM into the bottom of the MaxM.


