Make an omnidirectional blink(1) with a ping-pong ball

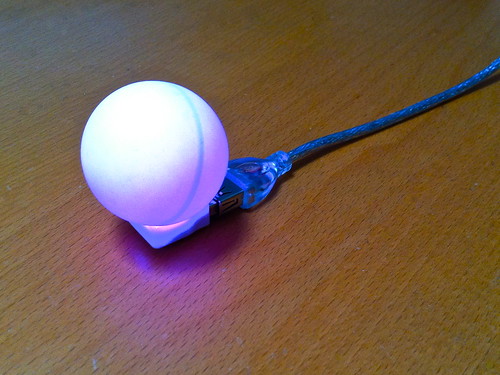
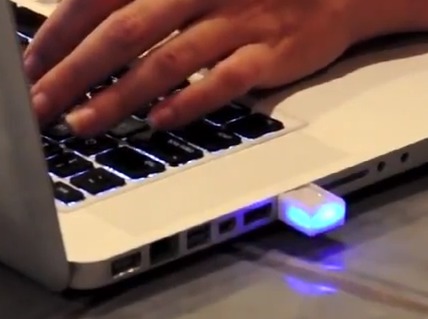
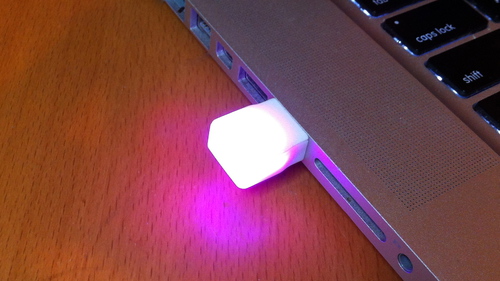
Here's a quick hack to try if you have a blink(1) and want a light that is large and viewable from more angles than what blink(1) normally provides. It does make things a bit larger though. It turns out ping-pong balls make excellent diffusers for LEDs. Here's how to attach a ping-pong ball diffuser to your blink(1) so you can put a computer-controlled notification light just about anywhere. omni-blink1-animated
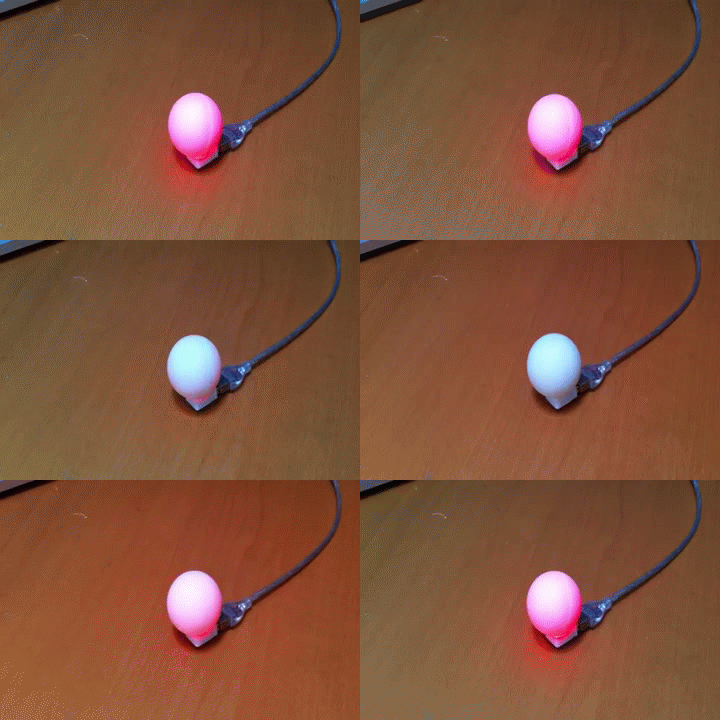
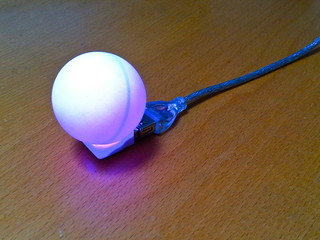
blink(1) omni-light with ping-pong ball diffuser

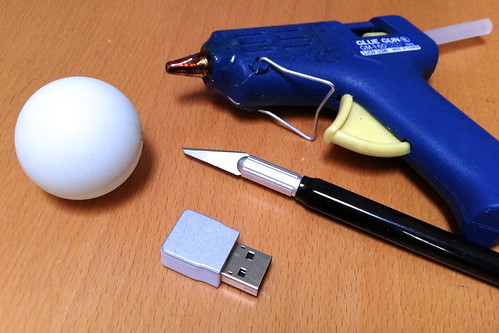
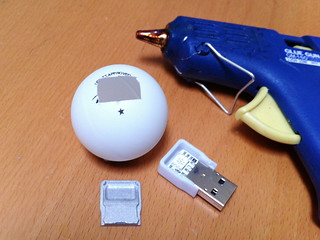
Tools Needed: - blink(1) USB RGB LED - white ping pong ball - hobby knife - hot glue gun - USB extension cable (optional)

Parts needed to make blink(1) omni-light

How to Build It

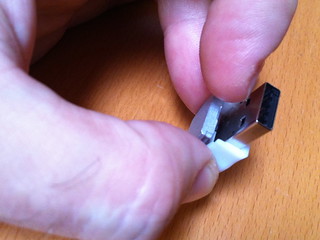
First, pop off the metal top of the blink(1). Just stick your fingernail in the divot near the USB connector and pull up. Removing blink(1) metal top
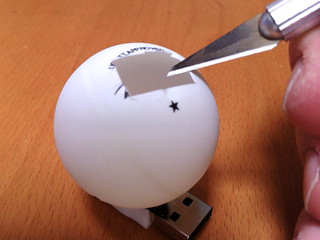
Next, cut a blink(1)-sized hole in the ping-pong ball using the hobby knife. I've found that just cutting out the logo & lettering is the best: IMG_3017
Now you're ready to hot glue. So get the hot glue plugged in and warmed up: Ready to glue ball to blink(1)
And put a small bead of hot glue around the edge of the hole you cut: Apply glue to ping-pong ball
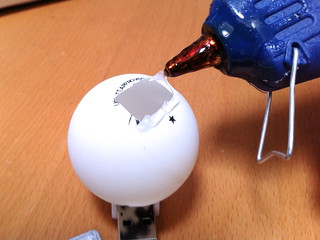
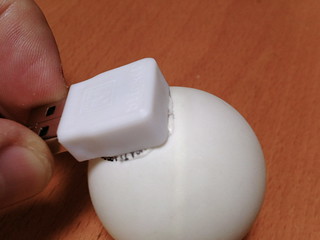
Then sandwich the ping-pong ball onto the plastic base of the blink(1): Stick ping-pong ball to blink(1)
Now you're done! To make it even more useful, get a USB extension cable and you can place your new omni-blink(1) in any place you want. blink(1) omni-light with ping-pong ball diffuser
MakerFaire 2013 Wrap Up

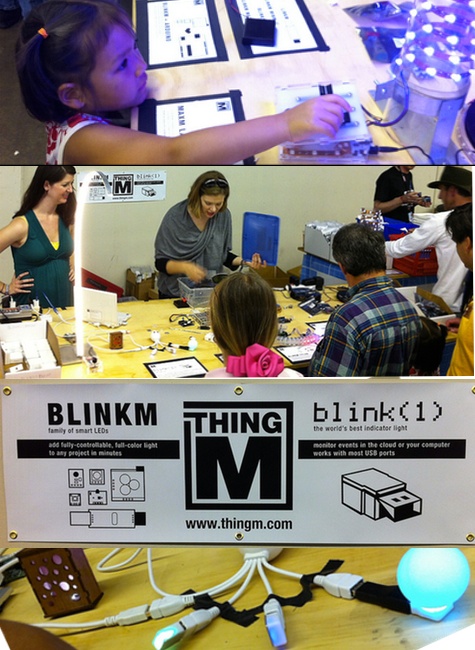
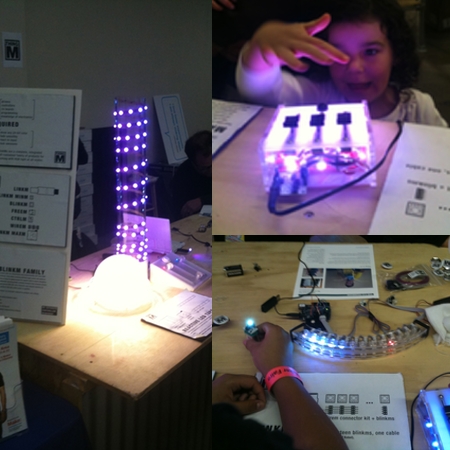
makerfaire Whew, MakerFaire Bay Area 2013 is over and it was astoundingly fun. Not only did we get to interact with so many people doing awesome things with ThingM products (like these BlinkM MinM earrings) but we got to show off a bunch of projects made with blink(1) and BlinkM-family stuff to thousands of new people. We heard tallies of 120,000 people showed up over the weekend, and we love seeing the concepts the Maker community inspires diffusing out into the larger world, as this LA Times article speaks to.

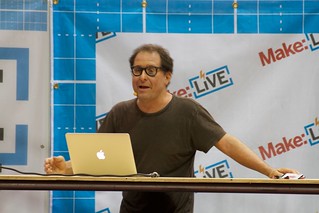
This year not only were we fortunate enough to have a ThingM table in the Maker Shed (Thank you Leah, Alex, Will, Carlyn, & Mike for helping staff it), but we also gave talks. Mike spoke about the future of manufacturing in a work filled with Maker-inspired tools and techniques, while Tod gave a talk on the process we went through to take blink(1) from an idea to Kickstarter to production.

Below are slides from both talks.

Mike's talk: MFBA 2013 336

The New Product Ecosystem: How design will reinvent manufacturing (Maker Faire 2013) by Mike Kuniavsky

Tod's talk:

todmakerfaire

From Prototype to Kickstarter to Production: How blink(1) was made by todbot

ThingM at Maker Faire Bay Area 2013, come visit!

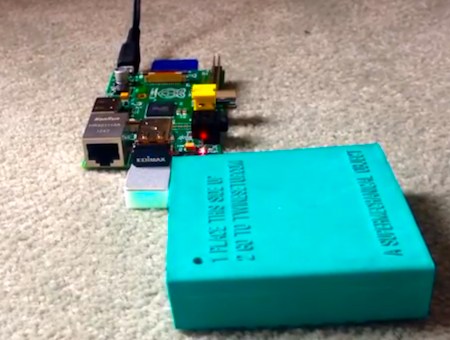
makerfaire2013-img1a-450px ThingM will be at Maker Faire Bay Area again, come visit us! We'll be showing off blink(1) USB LED notifier, the entire BlinkM Smart LED family, including the wearable BlinkM MinM and the powerful BlinkM MaxM. We'll be demonstrating cool uses of BlinkMs as part of home lighting, art installations, and using them with Arduinos & Raspberry Pis. You can even make a BlinkM into a tiny Arduino by itself.

Additionally, Mike will be giving a presentation on How Design will Reinvent Manufacturing and Tod ll be giving a presentation on how to turn an idea from Arduino sketch to a retail product, using blink(1) as an example.

Maker Faires are a huge amount of fun, packed with exciting things to see and great people to meet. Hope to see you there!

thingm-past-makerfaire

blink(1) intro video

I've yet to put together a proper intro / getting started video for blink(1). Here's a minor edit of our Kickstarter video that gives the rundown of the basic idea of blink(1) and how one would use it. To learn more about blink1, check out: http://blink1.thingm.com/.

And here's a 20-second short version of the same thing:

One thing that's pretty obvious in this video is we hadn't settled on the final design yet, except that we wanted the light to come out the sides instead of on the top/bottom faces.

blink1-intro-video-screenshot

Goodbye, Kim and THANK YOU

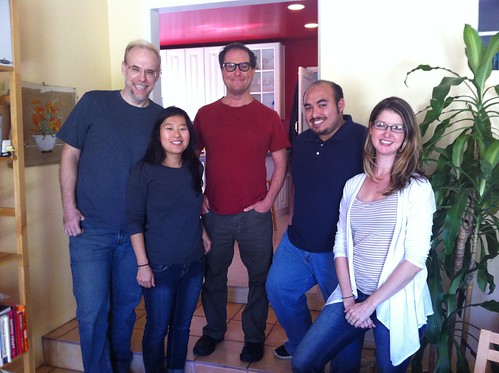
ThingM all hands meeting Three and a half years ago, we hired Kim Karlsrud as a temporary project coordinator. Little did we know that she was about to become an indispensable part of the ThingM team (that's her, second from the left). In that time she's done everything from organizing our meetings, running our sales effort, to writing our newsletters, to advising us on ecommerce strategy. She worked with design schools to get BlinkMs into the hands of design students and give us many inspirational ideas in return. She was the glue that held so many of our half-baked, partially working ideas together. Her matter-of-fact approach effectively conceals a ruthless negotiator and hard-nosed businesswoman, a quality that we took advantage of over and over. She became a good friend to me and Tod.

So we were ecstatic when Common Studio, Kim's social design studio with Danny Phillips, had a string of successful projects. Their Greenaid Kickstarter project started their seed bomb gumball machine business (the machines and bombs are now found in stores all over the world) and directly inspired us to do a Kickstarter project. With Common Studio's success, we knew that it was only a matter of time that she would turn her attention to it full-time. We are very grateful for her time and support in transitioning ThingM to a post-Kim world.

Kim, thank you very much. Good luck to you and Common Studio. We will miss you.

Shapeways your own blink(1) enclosure!

Love your blink(1) but wish the colors came out the top too?  We designed blink(1) so you can swap in a different top or even make your own.  Here's one we got made from Shapeways: shapeways1


If you've not heard of Shapeways yet, you should go there now and poke around. It's an amazing site that offers an entirely new way for objects to be made and sold.  Instead of a warehouse of products, Shapeways houses a database of 3D files uploaded by creators.  When a customer buys one of the objects, it is fabricated on-demand, from a variety of materials that range from plastic to metal to ceramic.

If you'd like to try this yourself, you can find the blink(1) enclosure parts on our corner of Shapeways:

To try this out, we ordered the enclosure top in both the "White Strong & Flexible" and the "White Strong & Flexible Polished" materials.  Cost per top was around $2.75 USD.  The tops arrived in a little over a week, in little plastic bags.

shapeways2

Replacing the stock metal top was easy, just use your fingernail to pop it off, then snap on the new top.

shapeways3


The final result is pretty cool looking, though the Shapeways part is a slightly different shade of white than the neutral white of the blink(1) enclosure:

shapeways4


Or make your own enclosures at home!

If you have access to a 3D printer (like at your local hackerspace), you can also find the STL files to print your own enclosure on Thingiverse.  Note that the STL files we've provided are from our production model, so they may not print well on lower-resolution 3d printers.


blink(1) lights sequenced with Eigenharp Alpha

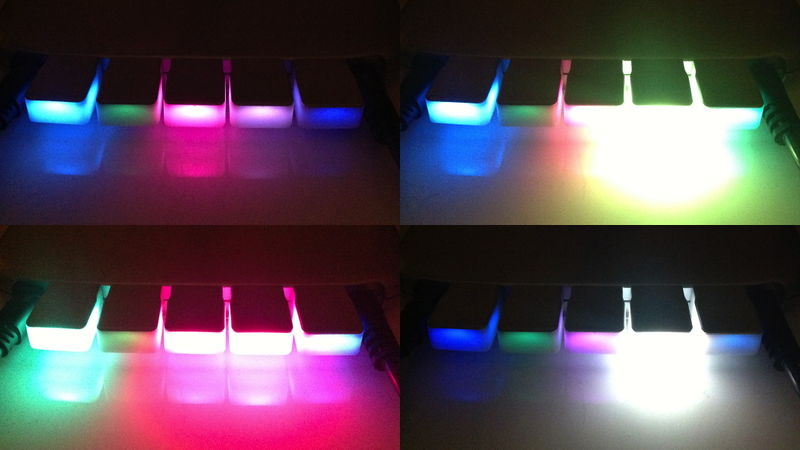
Eigenharp user Geert recently posted about a blink(1) driver for Eigenharp. Using blink(1)s looks like a great way to provide visual accompaniment to the complex things you can do with an Eigenharp.  His library can control multiple blink(1)s simultaneously and he demos controlling five of them. Blink_eigend

Here's a video demonstration:

Check out his post and the code for more info.


Blink1Control updates, a PDF guide, more libraries & tools

We posted a Kickstarter update a few days ago. If you missed it, we fixed up Blink1Control a bit, especially with regards to IFTTT. There was an event timestamp issue that was affecting Windows users mostly. The updated download links are:

And we have a quick little PDF on hooking IFTTT up to blink(1):

Getting Started with Blink1Control and IFTTT (1.7M PDF)

blink1control-iftt-guide-title-500px


And a bunch of libraries and tools created by the community.


For more details, see the kickstarter update.