2012 Seedkit Launch!

For the last few years we've been offering students and institutions an opportunity to experiment and play with ThingM products through our Seedkit program. This year we've changed it up a bit, in exchange for a greatly reduced price, all we ask is participants commit to documenting and sharing their process with us. We'll hopefully inspire our ThingM community by sharing the best ideas on our blog and in our newsletters. This year we have two options, a whole schmogasborg of ThingM goodies called the Grab Bag, as well as a Wearables Kit specifically geared for soft goods.

All Seedkits are intended for educational, non-commercial purposes, you must have a .edu email address to request a Seedkit.

Grab Bag: http://store.thingm.com/index.php?main_page=product_info&cPath=0&products_id=11&zenid=t7024k8qvadlgb7hlhobnjcan3 Wearables: http://store.thingm.com/index.php?main_page=product_info&cPath=0&products_id=12

blink(1) Kickstarter Updates!

11 Kickstarter Days left!

Customization options:

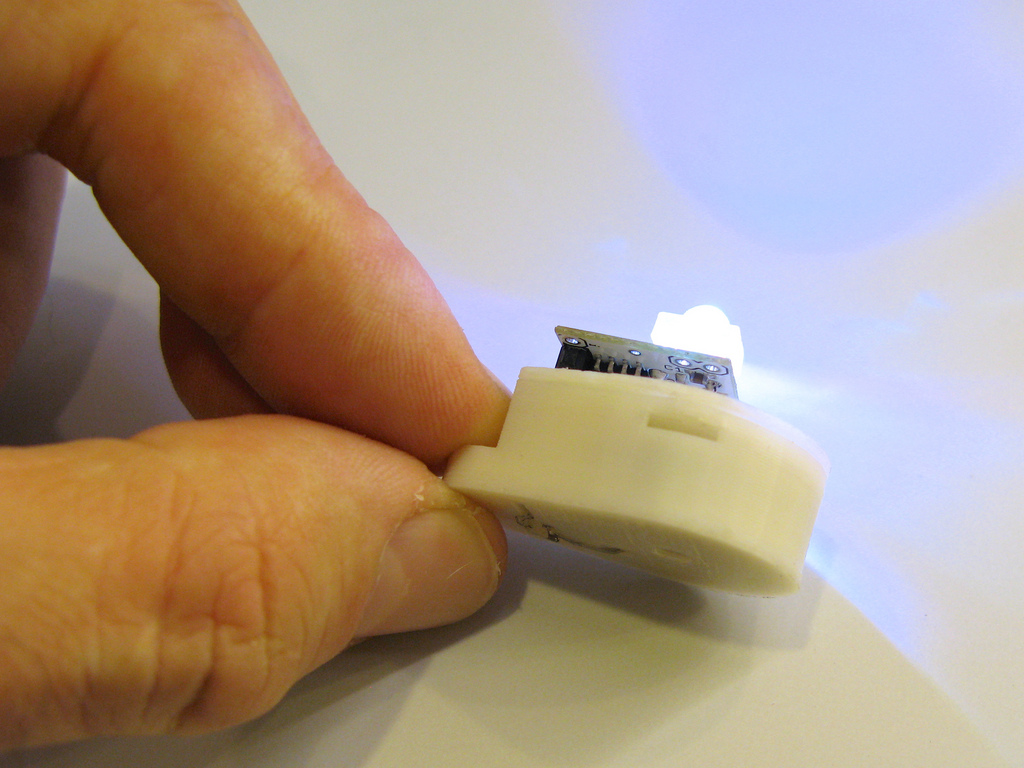
For those of you who want different light output pattern than what the stock enclosure provides, we will be providing alternate enclosures on Shapeways and Thingiverse. If you've worked with BlinkMs, you know the LEDs we use can be painfully bright. We've been tuning the enclosure so the light from blink(1) isn't blinding but a soothing glow. But we also want to give the option of experiencing the fun of raw LED light.  So we've made the case top removable for your own experiments.  For instance, here's two blink(1) prototypes, one with a 3d-printed prototype enclosure, another topless but a glue gun stick used as a light pipe.  LEDs are fun!

Hardware Innovation Workshop talk:

http://www.youtube.com/watch?v=qQw8ZqY84jQ&feature=player_embedded

If you'd like to hear some behind-the-scenes backstory of blink(1), in May Tod Kurt spoke at Make Magazine's Hardware Innovation Workshop.  In his talk he describes how fast products can be developed using Open Source tools and built with Open Source components.

For more blink(1) Kickstarter updates please visit: http://www.kickstarter.com/projects/thingm/blink1-the-usb-rgb-led/posts

ThingM June Newsletter!


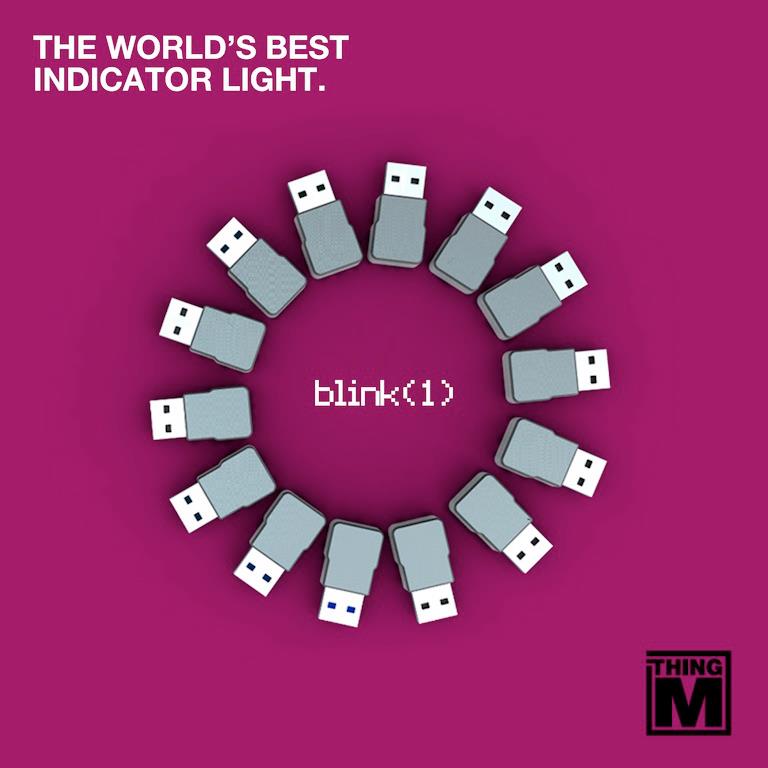
blink(1), THE USB RGB LED ThingM has just launched a Kickstarter for “blink(1)”. A USB RGB LED that builds on our BlinkM Smart LED. It’s a super status light that packs three dimensions of information (color, brightness and pattern) into a single tiny package that fits into any USB port on nearly every device.

It makes it incredibly easy to connect any data source in the cloud or on your computer to a full-color RGB LED so you can know what’s happening without checking any windows, going to any websites, or typing any commands.

For more information visit: http://www.kickstarter.com/projects/thingm/blink1-the-usb-rgb-led Questions: blink1@thingm.com

blink(1) UPDATES With 19 more days to go - we have nearly tripled our kickstarter goal and have attracted over 1800 backers! Below are project updates with all of the latest news:

New blink(1) Features. Two additional features are the "night light" and "server down" modes. The "night light" mode gives your blink(1) something to do when plugged into a non-computer USB jack like a USB charger or Mintyboost. You'll be able to load the blink(1) up with a light pattern to play when it's plugged into one of these devices. The "server down" mode is similar but would trigger the saved light pattern if the blink(1) doesn't receive periodic commands from the computer. Great for sysadmins but also useful for creating impromptu light shows on your friend's laptop!

Is blink(1) Open Source? Yes - but we're still cooking it! Some have asked is they could get advance access to the blink(1) schematics, firmware, or software SDK. We will release the design files for blink(1) as open source when blink(1) ships. We would like to release them earlier, but we've found that can be confusing as non-working prototype code ends up mingling with final production code. We are committed to making blink(1) a true Open Source Hardware (OSHW) device, but we want to finish this first version first.

Production Status. On the firmware & electronics side, the ServerDown and NightLight modes in the firmware mentioned in the previous update are now fully implemented. The extra chips needed have been shipped to us. The (hopefully) last PCB iteration before production has been ordered and is coming next week. We'll build a few more prototypes for testing from them.

blink(1) NOTABLE PRESS We're proud to say that blink(1) has been taking the world by storm! Friends like Fast Company, Notcot, and Trend Hunter are supporting and spreading the word. A few artilce links are below:

Boing Boing:http://boingboing.net/2012/07/14/usb-indicator-light-can-be-use.html Mashable:http://mashable.com/2012/07/09/blink1-usb/ Matuk (Some international love): http://www.matuk.com/2012/07/14/blink1-una-idea-tonta-o-genial/

ThingM Kickstarter: Meet blink(1)

blink(1), the USB RGB LED

ThingM has just launched a Kickstarter for "blink(1)".  A USB RGB LED that builds on our BlinkM Smart LED.  It's a super status light that packs three dimensions of information (color, brightness and pattern) into a single tiny package that fits into any USB port on nearly every device.

It makes it incredibly easy to connect any data source in the cloud or on your computer to a full-color RGB LED so you can know what's happening without checking any windows, going to any websites, or typing any commands.

To support and find out more information visit: http://www.kickstarter.com/projects/thingm/blink1-the-usb-rgb-led   Questions: blink1@thingm.com

BlinkMs in tr-10: an Interactive Installation!

http://vimeo.com/9795185#at=0 tr-IO was an interactive installation exhibited at the dorkbot 2010 group show in sydney. it is a generative video/audio piece that is projected onto a wall and controlled via an interactive table.

The pyramid objects were fitted with programmable BlinkM LEDs which could be easily programmed via an arduino board.  I know we're biased but they really look awesome!

To learn more about this amazing project please visit: http://www.julapy.com/blog/2010/02/16/tr-io-dorkbot/

ThingM June Newsletter

THINGM BLOG June was another month of exciting new ThingM projects! To give you a little taste we have BlinkM's in a wave shaping tutorial, more about why WireM's are awesome (and where you can buy them), and last but not least the BlinkM coin cell holder! This last project, the BlinkM coin cell holder, is our official project of the month. To learn more please visit:

http://blog.thingm.com/

THINGM GOES FRENCH This is a wonderful (and very thorough) French tutorial that goes over LED strips, BlinkMs, MaxMs, CtrlMs, and FreeMs! S'amuser!

http://www.touteladomotique.com/index.php?option=com_content&view=article&id=473:2012062501&catid=74:leds&Itemid=13

SUBMIT THINGM PROJECTS Do you have any amazing ThingM projects that you would like to share? We're always looking for new ThingM projects to post to our blog. If you have photos, a project description that talks about your experience with our products, video, or any other material you would like to share, please email us. We look forward to seeing some amazing projects!

BlinkM Coin Cell Holder

BlinkM coin cell holder

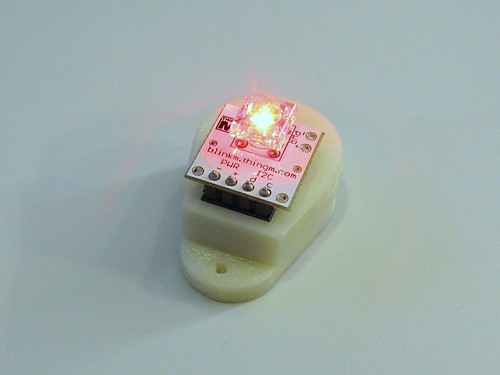
Did you know you can power BlinkMs or BlinkM MinMs off two 3V coin cells? Here is a tiny 3d-printable coin cell and header socket holder for BlinkMs and BlinkM MinMs. It snaps together and has mounting holes to turn it into a pendant or mounting additional diffusors for the LEDs.

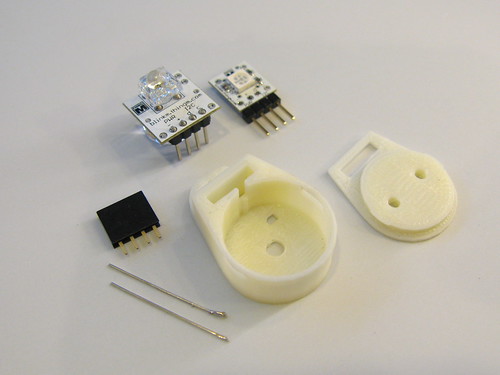
And you don’t need many parts to build it:
- one each of plastic pieces here (see the STL files on Thingiverse)
- two CR2032 3V coin cells
- one 4-pos female header socket (Digikey S7037-ND or equivalent)
- two short pieces of solid wire (old resistor leads, 26 gauge wire stripped, etc.)

BlinkM coin cell holder

Steps:
1. Push the 4-pin socket into the hole until it stops. It should friction-fit in without any need for glue.
2. On the bottom, feed the two wire pieces in as shown in the photos, and solder them to the two pins on the header socket. These wires become the battery terminals.
3. Bend the wire battery terminals so they make good contact with the cells.
4. Insert coin cells, snap together top piece.
5. Insert BlinkM and watch it play its light sequence.
6. To protect the back, put a small piece of gaffers tape or similar over the terminals.

For more info and pix, see this project’s Thingiverse page or the Flickr pictures.